| Year | Status |
|---|---|
| 2022 | Completed |
The idea
When making my nixie clock I thought that it would be a nice addition to add an option to control the clock with an infrared remote. So I ordered IR receiver and IR remote. I when proceeded to short the IR receiver thus breaking it. I ordered a new set and I had to wait, but in the meant time I discovered that in the kit that I ordered also came an IR LED. I hooked it up and tested it out and had an idea to create an infrared remote.
Controlling the invincible lights
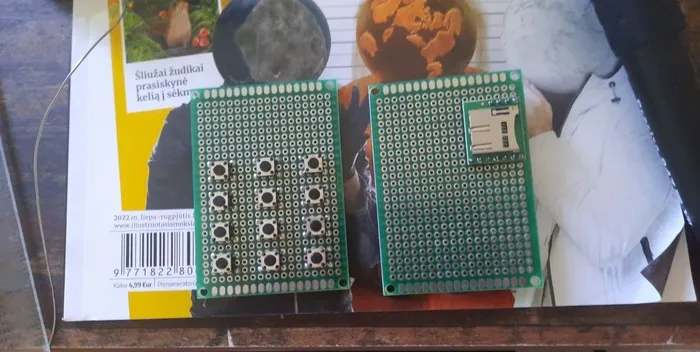
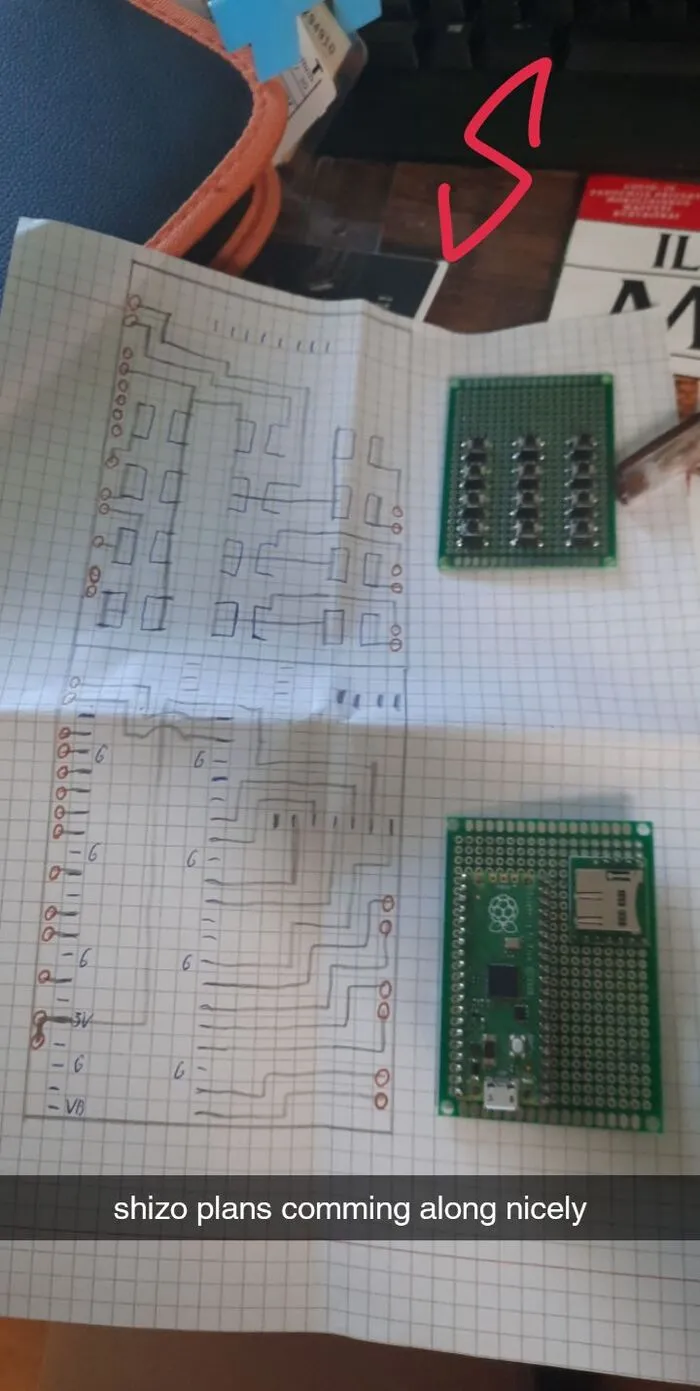
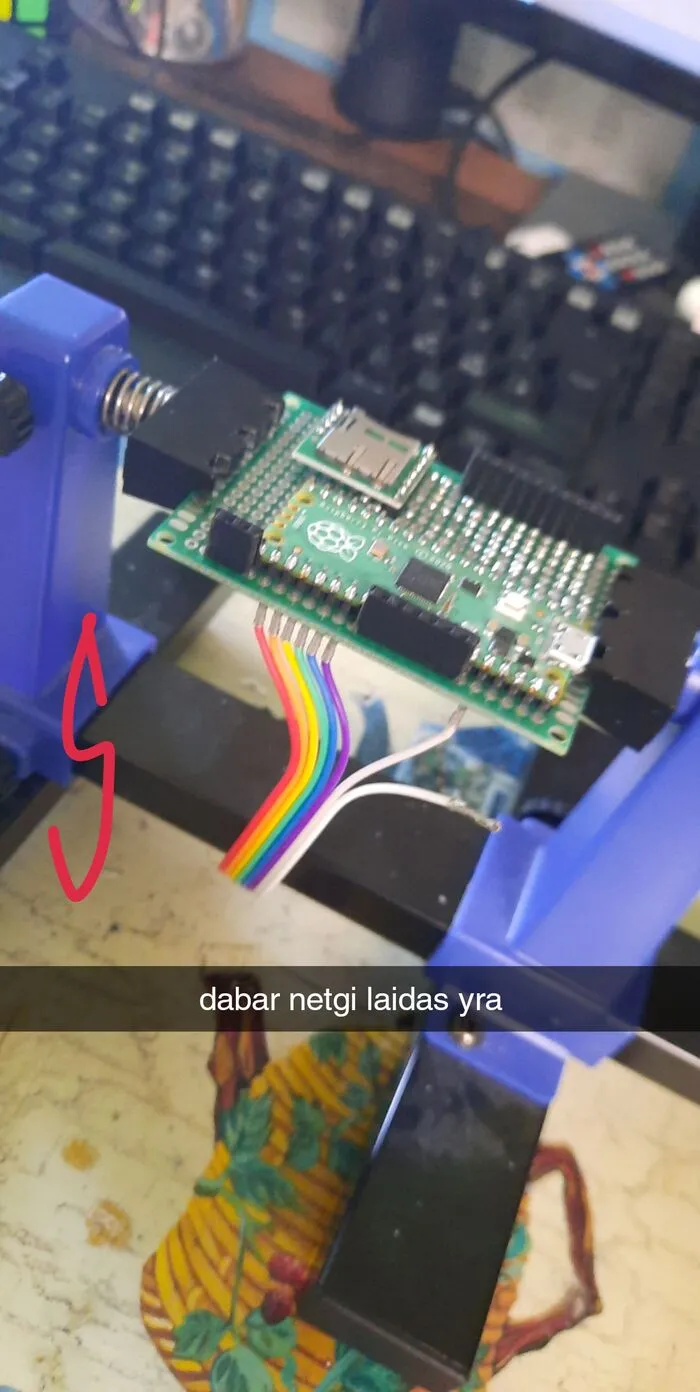
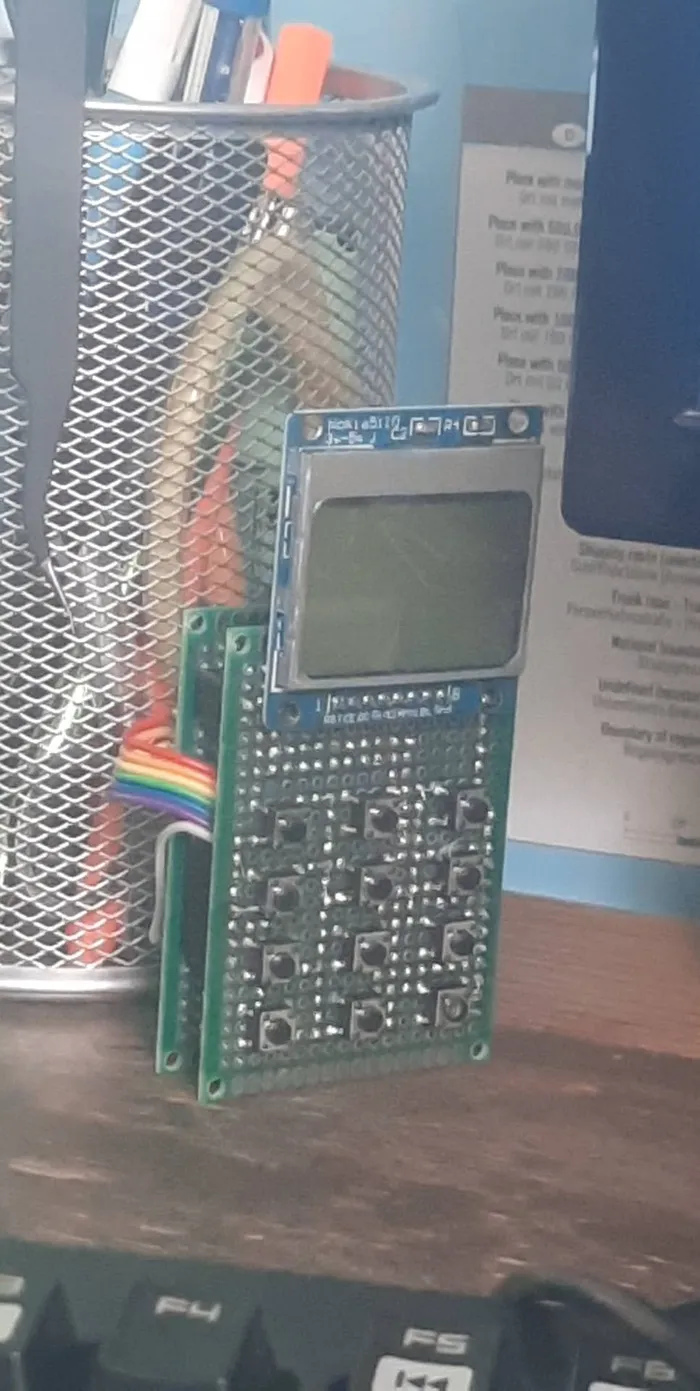
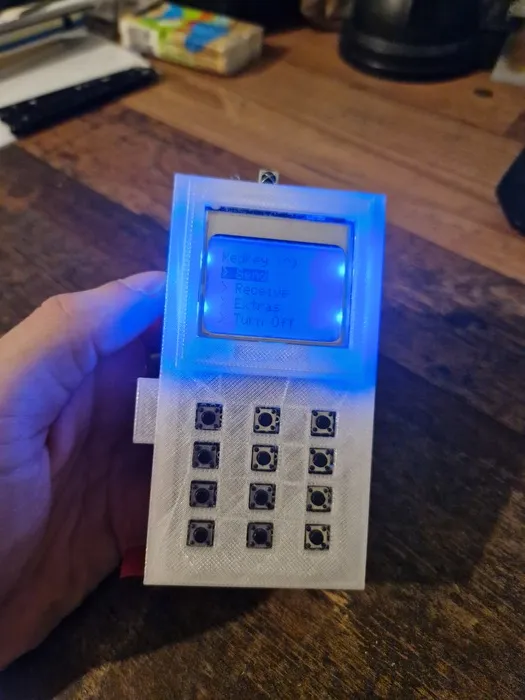
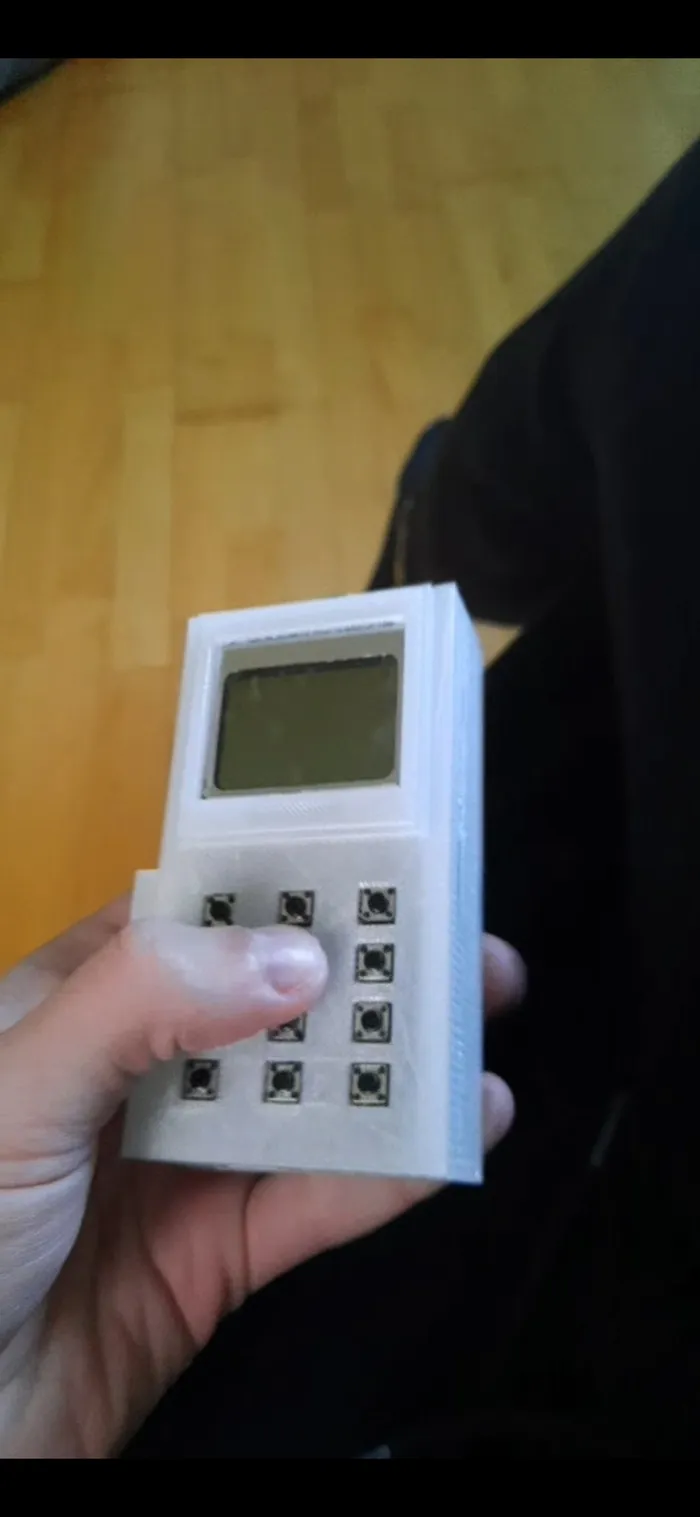
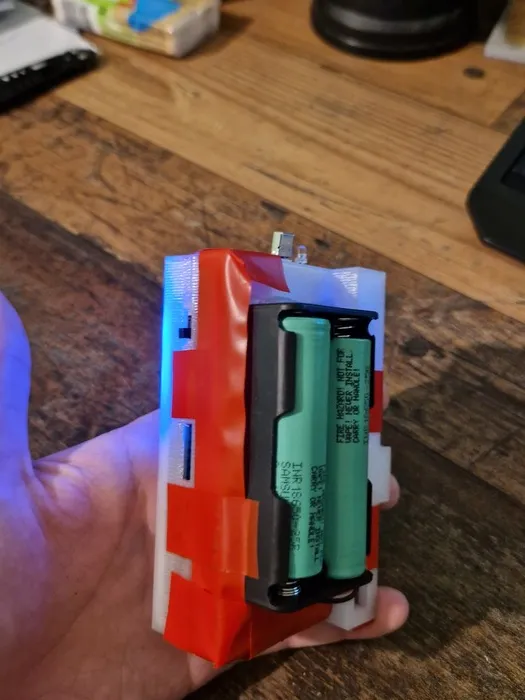
Infrared signals can be a little bit hard to grasp at first, but at their core they are just ones and zeroes. In my code I used hexadecimals to make the signals more understandable for me. Besides the IR LED I also needed some other basic parts. I settled on Raspberry Pi Pico microcontroller since it had everything I needed. To give it some memory I also added a SD card. To also be able to receive signals I added an IR receiver. And lastly to be able to have a little UI and make the project handheld I added a little screen, some buttons and a battery. The rest that was left was to code everything together. I used C and my code ended up very tangled up, but it worked. I managed to receive signals, save them on the SD card, view them on the screen, pick one out and emulate it with my own IR LED. The project was a success and I learned a lot while making my remote.
The name
For those wondering what “RedKey” means, let me break it down for you. I wanted to name my project something cool for the style factor. “RedKey” is two words mashed together. InfraRED and skeleton KEY. A skeleton key is a key that opens all doors and the remote is infrared, so It is pretty much self-explanatory why I picked these words. Also, I needed my name to be short, so It could fit in the top line of the screen. If I did not need that requirement maybe the name would have ended up different.
The Pictures